Is there something I've missed? Please contact me so I can help you out!
HOW-TO: CONVERTIBLE STRAP
Have you been wondering how on Earth to use a single strap to turn your ita bag into a backpack? Then this video is for you!
ITA BAG LAYOUT TEMPLATE
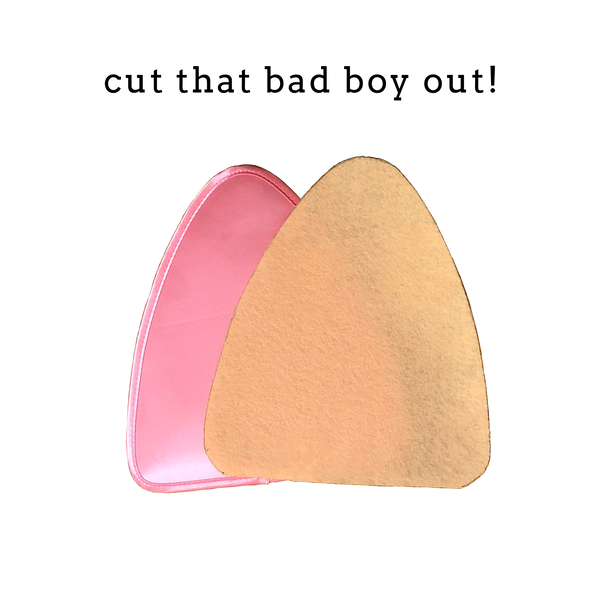
But what if, like me, you're really picky about your pin layout and you don't want any of your enamel trinkets being blocked by the display window's edges or the shark's cute teeth? You can take it a step further by choosing a light-colored sheet of stiffened felt (one that you don't intend to ever use as a layout; I decided on this rather gross flesh tone) and cutting out where the teeth and edges of the window are. That way, you can lay that template on top of your felt inserts to have a decent idea of the best spots to place your pins.
Please enjoy this poorly color-balanced series of photos explaining how to make your own template:


Pins by @feffyssale, @joannabehar, and @designsbygenn.
Did that make sense? Did you find it helpful? Do you now have intricately-planned pin layouts that you want to show off? Please share them with us by using the hashtag #kawaiisharkitabag, and/or tagging @rescuesirens/@pinsofsteele on Instagram!
FABRIC TOOTH REPAIR TIPS
What might necessitate a foray into shark dentistry? If you live in a hot climate -- like I do -- and you leave your ita bag in the car -- like I have -- the fabric "sandwich" making up each tooth can become unadhered (I swear that's a word) and curl outward, leaving the interior batting exposed.
Fortunately, this is an easy fix! All you need is Elmer's Glue, a clothespin or binder clip, and some cloth (a T-shirt will work).
- Dab glue on both interior sides of the "sandwich" and stick the three pieces back together.
- Wrap some cloth around the tooth you're working on. This is to provide some cushion to prevent the clothespin or binder clip from putting a dent in the tooth.
- Clip your clothespin or binder clip on top of the cloth, making sure you're holding together as much of the tooth as possible, and leave to dry (I left mine overnight).
And that's it! If multiple teeth have become unstuck, just repeat the process.
Of course, an ounce of prevention is worth a pound of cure, so I recommend keeping your shark friend out of extreme heat!